Dark Souls 2 Estus Flask upgrade guide - where to find every Estus Flask Shard and Sublime Bone Dust
If you want to get maximum healing from your Estus Flask, then we've got the locations of each Estus Flask Shard and Sublime Bone Dust
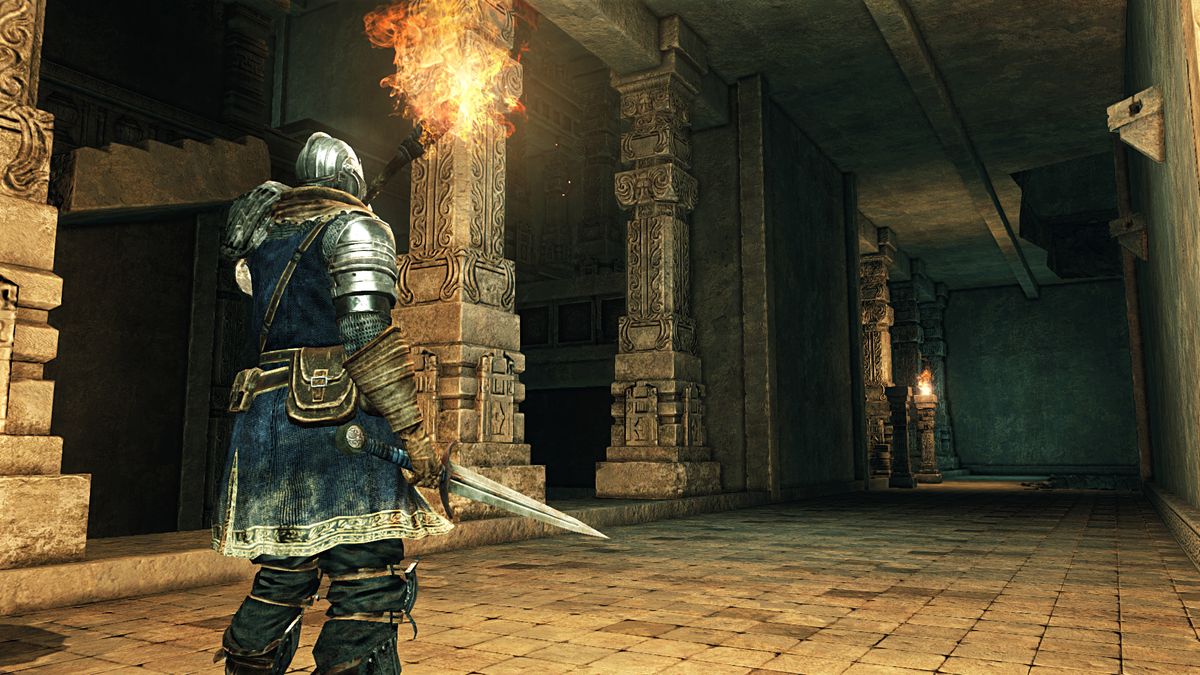
The Estus Flask is possibly the most important tool for Dark Souls 2 players. It lets you quickly recover health without the wait of a Lifegem. If you've read our Dark Souls 2 review (or if you don’t live under rock), you know that healing yourself is key to surviving in this world.
But you're not stuck with just one Estus Flask. Find a Flask Shard, and you can get yourself another flask. Find some Sublime Bone Dust, and you can boost the healing power of each individual flask. Follow along, and we'll show you where to find every Estus Flask Shard and Sublime Bone Dust location.
Struggling to conquer the game? See our other Dark Souls 2 guides to help you on your way:
- Dark Souls 2 boss guide
- Dark Souls 2 covenants guide
- Dark Souls 2 gestures guide
- Dark Souls 2 Pharros' contraptions guide
- Dark Souls 2 ring guide
- Dark Souls 2 spells guide
- Dark Souls 2 Soul Vessel locations guide
- Dark Souls 2 weapons and armour guide
Estus Flask Shard locations
Getting the Estus Flask
When you first enter Majula, move from the bonfire toward the monument and turn right. Speak to the woman here to receive the Estus Flask.
Estus Flask Shard #1 - Majula
Near the largest house in Majula is a well. Smack the rock here, and it will drop, raising a corpse. You can pick this off of it.
Estus Flask Shard #2 - Majula
This requires a few steps. To start, travel to the Cardinal Tower bonfire in Forest of Fallen Giants. Climb down the ladder, take out the enemies by the bridge, then turn left. This path takes you outside. Go up the gnarled tree, leap to the rooftop, and face the opposite corner from where you entered. See that cave entrance? Now leap from the rooftop to the scaffolding ahead, and head into the cave.
Inside, stop under the first horizontal beam to let a boulder roll by. Now head up the slope where the boulder came from to meet Cale. Speak to him a few times, and he'll give you the House Key.
With the House Key in your possession, you can open the big house near the well in Majula. Head inside, then make your way to the basement, where you'll find a corpse holding the shard.
Estus Flask Shard #3 - Forest of Fallen Giants
After defeating The Last Giant, you'll receive the Soldier Key. Near the Cardinal Tower bonfire are some stairs. Head up these and use the Soldier Key on the door at the top. Head through the crowded room into the next to find a chest containing the shard.
Estus Flask Shard #4 - No-Man's Wharf
When you come down the opposite side of the wharf, you'll drop down some ledges. At the lowest rock level, make a left to find a door. Head inside, take out the bandits, then open the chest in the corner for the shard.
Estus Flask Shard #5 - The Lost Bastille
To get this, you'll first need the Antiquated Key. It's found at the start of the level. When you shimmy over the ledge, continue left. Drop onto the big platform and open the chest there for the key you need.
When proceeding from the Servant's Quarters bonfire, you'll have to jump across some rooftops. Drop down, take out the dogs, and use the Antiquated Key to open the door to the left. Proceed through the next room into a courtyard with several scaffoldings. Bear left around the massive column to find a chest tucked away - it contains the shard.
Estus Flask Shard #6 - Earthen Peak
Upon entering Earthen Peak, you'll be in a chamber with poison water below. Step down the stairs, then follow the hall to the right. At the end is a corpse holding the shard.
Estus Flask Shard #7 - Shaded Woods (1 of 2)
After defeating The Lost Sinner, you'll receive a Fragrant Branch of Yore, which lets you rescue the petrified woman just outside Majula. Save her, open the door, and take out the enemies. In the next room, open the lower right door. Inside this cell is a chest containing the shard. The lower left cell contains the first bonfire in this region.
Estus Flask #8 - Shaded Woods (2 of 2)
This requires a few steps to get. First, start at the Shaded Ruins bonfire. Nearby is a petrified enemy. Use a Fragrant Branch of Yore to free him, then take him out to receive the Fang Key.
With the Fang Key in your possession, proceed up the ramp from the bonfire and turn right. You're probably aware of the large pit over here covered by wooden planks. Down there is a locked door you can now open. Inside, you'll find Ornifex the crow, as well as a corpse holding the shard.
Estus Flask #9 - Brightstone Cove Tseldora (1 of 2)
You can find this on your way to the Prowling Magus and Congregation boss fight. Before going through the fog gate, interact with the wall just to the left to reveal a secret set of stairs. Up here, you'll find a corpse holding the shard.
Estus Flask #10 - Brightstone Cove Tseldora (2 of 2)
Start from the Chapel Threshold bonfire and move back toward the chapel. Roll off the cliff to the building below, then move past the zip-lines. You want drop down the walkways to the building where the spell-caster can be seen in the screenshot above. Then, carefully drop to the grey base of the building he's on. Head through the open doorway to find a shard atop a corpse.
Estus Flask #11 - Drangleic Castle
As you ascend the castle, you'll eventually pass through a hall with several Alonne Knight archers, a Mastodon Knight, and two weaker knights. Opening the doors beyond reveals a balcony with another Mastodon. Take the lower set of stairs out here to find a switch that creates a shortcut back the way you came, as well as a chest containing another shard.
Estus Flask #12 - Shrine of Amana
From the Crumbled Ruins bonfire, bear right as you move deeper into the shrine. You'll see a corpse and two sorceresses far off into the distance. Head down this long, deep trail, taking care not to fall off. Take out the sorceresses and loot the corpse for the final shard.
Sublime Bone Dust locations
Sublime Bone Dust #1 - Heide's Tower of Flame
This if found right at the beginning of the region. After taking out the first giant knight, move up the staircase nearby. You can loot this off the corpse hanging off the railing to the right.
Sublime Bone Dust #2 - Sinner's Rise
When you take the elevator down to the water level in Sinner's Rise, take the first left. Past the nasty enemy is a corpse holding this item.
Sublime Bone Dust #3 - Undead Purgatory
This is found when crossing the suspension bridge from Huntsman's Copse (near the Undead Lockaway bonfire). After crossing, leap to the corpse on the right ledge to loot this.
Sublime Bone Dust #4 - Iron Keep
After defeating the Old Iron King, enter the very next chamber to find this inside a chest.
Sublime Bone Dust #5 - Black Gulch
After defeating The Rotten, you'll enter a tunnel. Take a right at the fork to find a chest containing this.
Sign up to the 12DOVE Newsletter
Weekly digests, tales from the communities you love, and more
Tony lives in Maryland, where he writes about those good old-fashioned video games for 12DOVE. His words have also appeared on GameSpot and G4, but he currently works for Framework Video, and runs Dungeons and Dragons streams.
Dark Souls Remastered seamless co-op is officially coming from the creator behind the same Elden Ring mod, and it's set to include everything from PvP to scaling
There's a whole world of Dark Souls-style lore hidden in this series of dress-up games, and I bet you can't tell which is which
