Firebase Z Easter egg guide - how to complete Cold War Zombies latest challenge
A step-by-step walkthrough to completing the Firebase Z Easter Egg in Cold War Zombies
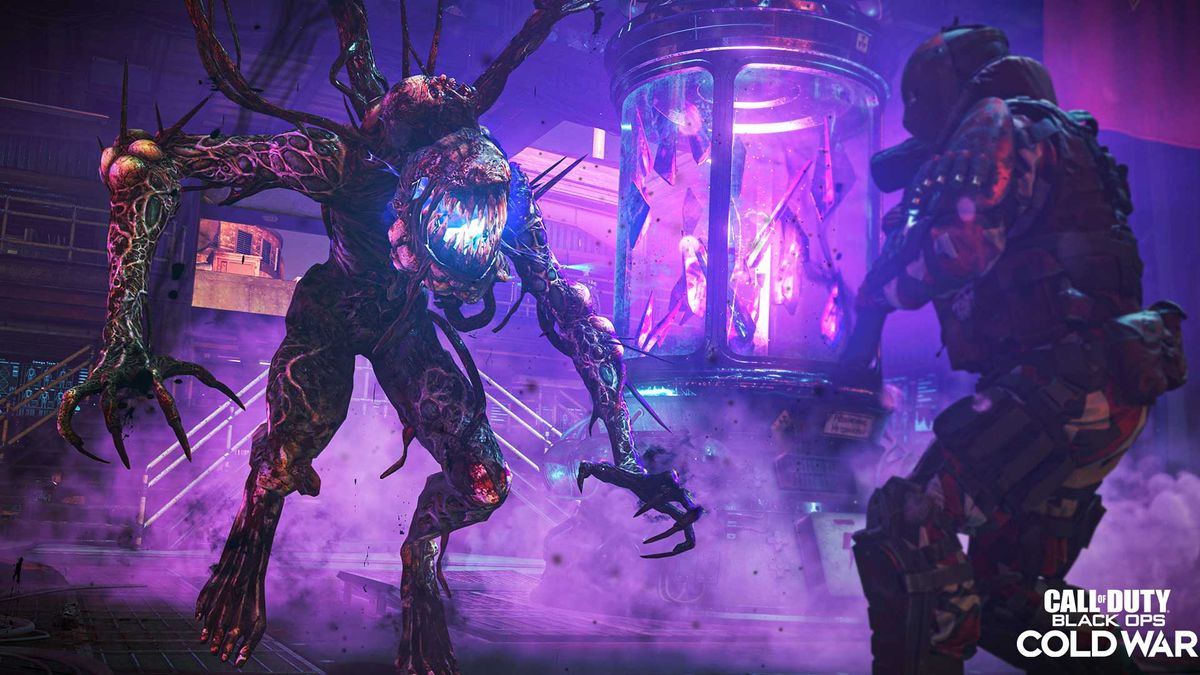
If you want to update the Firebase Z Easter egg Cold War Zombies then you've got a lot to tick off before you can face and defeat Orda, the final boss. This Zombies Easter egg has you working through a mission to save Samantha Maxis, and while it might feel easier compared to Die Maschine, there's still a lot to do. Seeing it through the end will see plenty of back and forth as collect stuff, kill things and trigger all sorts of events around the new map. But, while completing the Easter Egg is still no easy task, you can see it through by round 20, especially with our Firebase Z Easter egg guide to help you. You can even do solo although a squad is always preferable. There will be a little bit of luck involved, with some of the spawns and other events, but with our help you can minimize the hassle.
Here’s how to complete the new Cold War Zombies Firebase Z Easter egg.
Cold War Forsaken Easter Egg guide | Black Ops Cold War best guns | Black Ops Cold War Outbreak Easter egg | Cold War Mauer Der Toten Easter Egg guide | Black Ops Cold War Zombies guide | Black Ops Cold War Zombies Easter Egg walkthrough | The best guns in Cold War Zombies | How to upgrade DIE Shockwave in Cold War Zombies | Firebase Z Wonder Weapon
1. Turn on the power by activating each of the Aether Reactors
First, gather enough points to make your way to the teleporter in the upstairs portion of the village area and head to the main area of Firebase Z. From here, play like you normally would - activating each of the Aether Reactors to turn on the power.
Remember, you’ll need to purchase access to each area, as well as the ability to interact with each reactor, which costs 500 points a piece. Once you’ve successfully interacted and defended all three reactors, the power will turn on.
You probably already do this when playing normally, as you need to turn on the power to enable Pack-a-Punch and other of the map’s features.
2. Speak with Ravenov and Dr. Peck to get the ID badge
After that, head back to the village and speak with Ravenov. When you’re done speaking with Ravenov, Dr. Peck will let you know you should visit him. Teleport back to Firebase Z and speak with Dr. Peck on the bottom floor of Mission Control behind the glass window.
When you’re finished speaking with Peck, you’re instructed to go back to the village once again to talk with Ravenov a final time. Do this and Ravenov will give you the ID Badge, so pick it up.
3. Use the ID badge to open lockers around the map to acquire the truth serum
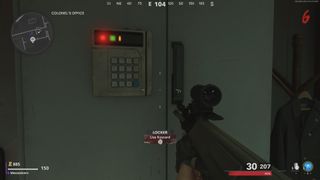
Now, you need to take this ID badge to three lockers around the map to acquire the parts to make a truth serum. Open the lockers and grab the serum part inside. We’ll go through each location below.
Firebase Z Locker 1
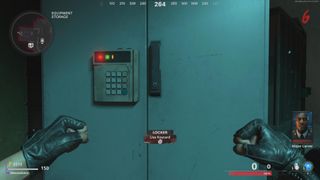
The first locker is directly across from the Pack-a-Punch building in the starting village area. Head into the building to the right of the perk machine on the bottom floor. It’s in the Equipment Storage area.
Firebase Z Locker 2

Next, teleport back to Firebase Z and head to the Colonel's Office on the second floor of the Control Room on the east side. The locker is on the left in the office.
Firebase Z Locker 3
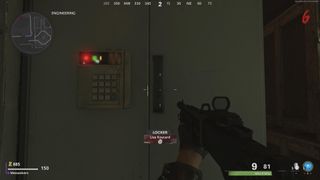
The last locker is on the west side of the map, in the Engineering area on the bottom floor.
4. Combine compounds with the mixer in the Field Hospital
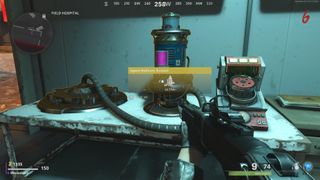
After you have all three parts, go to the Barracks area and you’ll find the Field Hospital, with a vacuum on a table. Interact with it and a bunch of Hellhounds will spawn. Take them out, interact with the table once more, and you’ll be able to retrieve the now fully-mixed serum.
5. Place Agent Delivery System on AC unit and talk to Dr. Peck
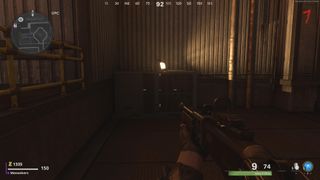
Take this serum to the top of the Mission Control building (just beneath the large spherical structure known as OPC), and place it on the AC unit. This will make the serum flow through the vents, allowing Dr. Peck to spill all the secrets.
Then, go back to Dr. Peck and speak with him and he'll tell you to go to the Data Center, which is the building with the satellite on top.
6. Start working on acquiring the RAI K-84 Wonder Weapon

At this point, you should begin going for the RAI K-84. There are three ways to obtain it: From the Mystery Box, from completing trials, or by constructing it.
The easiest way to get your hands on it is to try your luck with the mystery box, though depending on the game’s RNG, it may take you a while.
Either way, do your best to get your hands on the RAI K-84 at this point, since you will need it for a future step. Don’t worry if you don’t get it immediately - just be aware that you should start working on acquiring it now.
7. Interact with the Memory Transference Station in the Data Center to collect Essence Traps
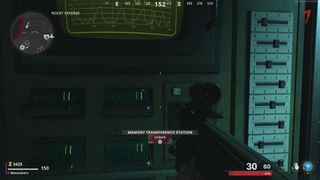
Next, head to the second floor of the Data Center and interact with the Memory Transference Station, found close to the Speed Cola perk machine. After a moment, you’ll be able to pick up Essence Traps from the device, so pick one up to start the next step.
8. Capture three Mimics and insert memories into Memory Transference Station
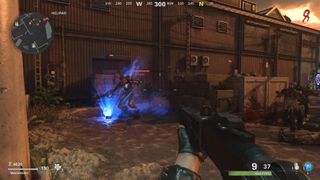
This is arguably the toughest (and most annoying) step of the entire Easter Egg, but we’ll make it as straightforward as we can. What you have to do is lay down the Essence Trap by a Mimic and detonate it to suck them in. The Mimics will only be sucked into the trap if they have low health (around 10% - 20%).
However, only certain Mimics will count for this. There are two types of Mimics that spawn around the map: Ones that appear alongside the regular zombies, and ones that spawn as traps from items scattered around the map.
The only ones that count for this step are the Mimics that appear from the items. Unfortunately, these items spawn randomly around the map. They take the form of certain killstreaks, armor, ammo, or other items you’d normally want to pick up.
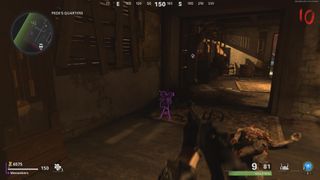
Explore the map at the end of each round to spot these items and you’ll have a chance at spawning a Mimic. We had luck in the upper floors of the village and on the west side of the Firebase Z area, but they can be found anywhere - hence why it’s one of the most annoying steps.
The main thing you want to look out for are collections of many items on the floor, indicating that the Mimic that spawns will be the correct one. If there’s just one item on the ground, it won’t count - only the Mimics that spawn when there are many items on the ground seem to work.
Assuming you’ve got the right Mimic, damage it enough (around 10% health), and then throw the trap on the ground. Once the Mimic walks by, double tap Square on PlayStation or X on Xbox to suck it in.
Then pick up the trap and take it back to the Memory Transference Station. Place it in the machine and if done correctly, you’ll get one third of the code you need for the next part. You don’t need to memorize the code or anything, as it’s the same each time.
Repeat this process two more times (for a total of three) to obtain the full code. If you managed to bring back the incorrect Mimic memory, you’ll be notified, so keep sucking them up and delivering them until it works for you.
9. Take the floppy disk to the Quantum Main Frame
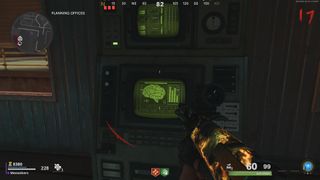
After you’ve acquired all three Mimic memories and deposited them into the Memory Transference Station, the machine will spit out a floppy disk, so grab it and take it to the Quantum Main Frame located in the upper floor of the Planning Offices.
It’s along the wall, closest to the large spherical structure. Interact with the Quantum Main Frame to insert the floppy disk.
10. Visit the Omega Portal Chamber and talk to Dr. Peck
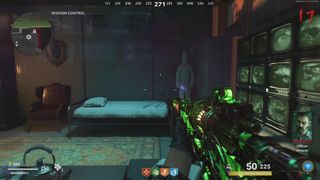
Getting the floppy disk will open up the Omega Portal Chamber (OPC), which is the aforementioned spherical structure outside. Walk up the steps leading to the chamber and you’ll see an anomaly, so once that happens, head back down to Dr. Peck for a little chat.
After this dialogue passes, you’ll be instructed to gather Aether crystal containers.
11. Use code to open locker containing Aethermeter
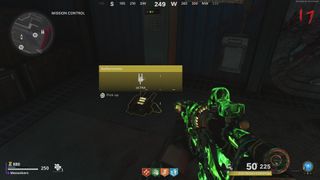
Before you do that, though, interact with the locker to the left of Dr. Peck’s window to acquire the Aethermeter, which is sort of like a metal detector for Aether crystals. The Aethermeter will spawn on the floor in front of the locker and will beep when you’re close to an Aether crystal container.
Luckily, the three Aether crystals you need will spawn in fixed locations, which we’ll detail below.
12. Collect the shovel and then all three Aether crystal containers
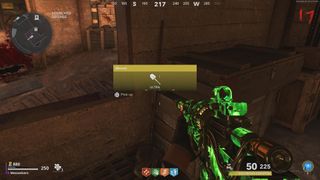
During this step, you’ll have to gather three Aether crystals - all of which feature an obstacle for you to overcome, such as a horde of zombies or minor puzzles. They can be collected in any order. Before being able to actually dig up the crystals however, you need to first acquire the shovel from the Scorched Defense area just outside of Dr. Peck’s location. A shovel can be found in one of the little huts in this area, so visit each one until you find it. You cannot dig up the crystals without this tool.
Once you have the shovel it's time to find each of the there crystals.
Aether crystal container 1
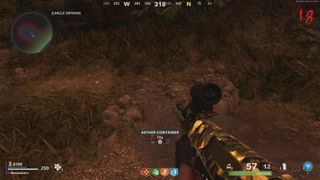
In the Jungle Defense area of the map, head to the very end of the section with the trenches to the middle section that protrudes forward. Towards the end on the ground, you’ll see a mound of dirt and your Aethermeter will begin beeping loudly.
Interact with it and you’ll begin a difficult phase that sends lots of zombies at you, including Mimics, Manglers, and Hellhounds. It’s a lengthy process and we highly recommend being stocked up on shields, perks, Self-Revive, and the RAI K to make it easier. Once you’ve finished the phase, you’ll be able to pick up the Aether crystal Container.
Aether crystal container 2
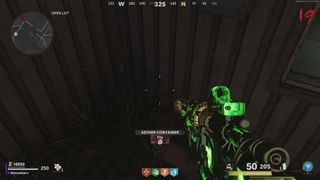
Next, go to the Open Lot section of the Planning Offices and go to the window that leads to where you found the locker from step 3. On the ground, in the corner to the left is an area where you can dig, so interact with it to begin a puzzle.
Once you do, a multitude of crystal containers will spawn, most of which feature a container with white smoke and black paritcles. What you need to do is run around this area and find the container with white smoke only. It can be hard to see, but you’ll notice that most of the crystal containers feature black particles all throughout, so try to find the one without.
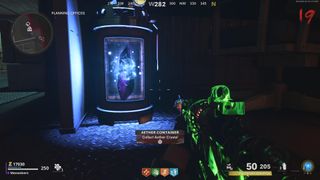
Only one container features white smoke only and it spawns in random locations. If you pick the wrong one, you’ll have to wait until the next round to interact with the dig spot to try again. After you’ve selected the correct one, you can open up the scoreboard menu to check to make sure you have two out of the three containers.
Aether crystal container 3
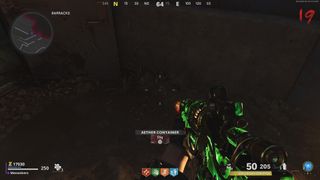
The final crystal Container requires the RAI K-84. Head to the north side of the map by the Barracks area. On the right, there will be a set of steps that lead to the Data Center, so run past them and interact with the digsite right next to the door that leads to the Field Hospital.
After you interact with the digsite, the container will teleport to a random location in the Barracks area. What you need to do is look around for it, but don’t actually approach it - just get it in your sights. When you find it, switch to your RAI-K and press up on the d-pad to switch to the secondary ammo type.
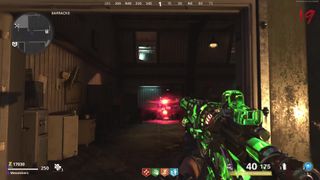
You need to shoot the crystal container with this secondary ammo, which sends a spinning vortex flying forward. While the vortex is next to the container, you need to quickly run up and grab it. If you don’t shoot the vortex close enough to the container, or if you’re too slow when trying to get to it, you won’t be able to grab it and it’ll teleport again.
After you’ve collected the container, you’ll be able to move onto the next step.
13. Deposit Aetherium crystals at reactors and visit the OPC
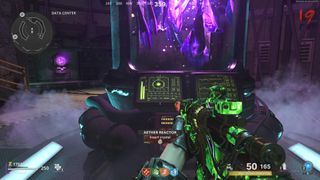
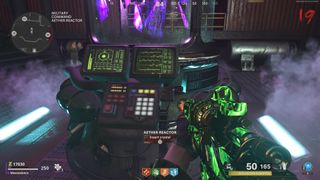
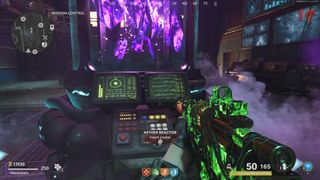
Remember the very first step that required you to turn on the power by using three reactors? You need to deposit the three crystal containers at these reactors - one each. Use the images and descriptions below if you can’t remember where they are. They can be visited in any order.
Reactor 1 - Data Center
Reactor 2 - Military Command
Reactor 3 - Mission Control
14. Talk with Dr. Peck again
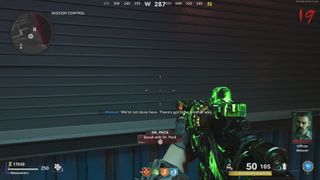
After you’ve placed the final crystal container in a reactor, head back to the OPC and you’ll trigger a story segment with dialogue. Wait for this to play out and then visit Dr. Peck once more. You’ll notice the blinds will be shut behind the glass, but you can still interact with him.
15. Align the satellite to generate power and initiate boss fight
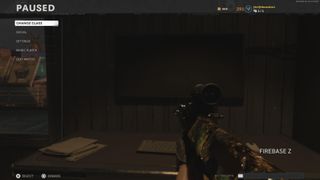
From here, you’ll be instructed to realign a satellite, which can be done by visiting the computer in the upper floor of the Planning Offices. Essentially it’s a simple mini-game that requires you to select the dot that features a question mark.
Use the d-pad to navigate across the dots that feature a flag, and instead select the dot that has a question mark. It’ll make sense when you’re doing it.
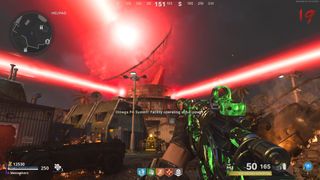
Once you press X on PlayStation or A on Xbox, you’ll align the satellite dish, so watch the segment play out. After the cinematic, head back to the OPC and interact with the terminal on the right side to trigger the boss fight.
After you do, you’ll be teleported back to the village where it will get pretty hectic. For this reason, we advise to get stocked up on shields, perks, upgrades, and everything else before you interact with the terminal. You can upgrade and acquire items during the fight, but it’s much more difficult to since you’ll be chased by a slew of zombies and enemies.
16. Orda boss fight
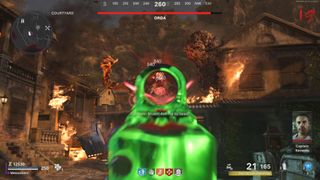
When you arrive at the village, you’ll see Orda in the back corner, so use your Wonder Weapon (preferably upgraded via Pack-a-Punch), to take it out. You can damage it at any time, but every so often, it will take extra damage, as indicated by the NPCs who have been helping you thus far, so try and prioritize those moments.
There are a few boss attacks to be cautious of. One is its heavy fist slam, which only occurs if you get right up next to it. Because of this, we recommend to always stay away from it and shoot it with a ranged weapon. The other attack is a Plague cloud, which can actually be shot down. If you get hit with one, it’ll take down your health temporarily. The final attack consists of Hellhounds that the boss fires at you.
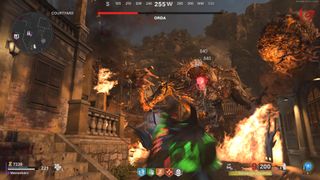
The basic strategy is to run laps around the area, stopping periodically to take out the enemies behind you, as well as to deal damage to the boss. At this point in the Easter Egg, you should be as cautious as possible, as it can be easy to get overwhelmed. Always try to run forward, away from the enemies behind you and don’t get greedy when dealing damage to the boss. If you stop for too long, the enemies who are chasing you will catch up and pile up on top of you, so just be careful when running laps in this area.
We advise to run through the section that leads to the teleporter, then jump down onto the second floor of the Pack-a-Punch building to continue forward. You can easily deal some damage to the boss a couple times per lap. And remember to upgrade your RAI K to level 3 if possible to make the fight go by quicker, as your weapon will deal more damage this way. We don’t really advise to use other firearms aside from Wonder Weapons during this boss fight.
After enough damage, the boss will be defeated and you’ll get one final cutscene, indicating you finished the Easter Egg. Congrats!
Sign up to the 12DOVE Newsletter
Weekly digests, tales from the communities you love, and more
Joseph loves Nintendo and horror games. With the Nintendo Switch, he's ready to get spooky anytime, anywhere. He specializes in covering Call of Duty: Warzone and action RPGs like Dark Souls, so you can bet he's looking forward to Elden Ring, the brainchild of George RR Martin and Hidetaka Miyazaki. You can find Joseph's work at GamesRadar, Digital Trends, Inverse, and PLAY Magazine. When he's not writing about video games he can usually be found petting his cats and listening to some Progressive Metal. He thinks Meshuggah is tight.


