The Cave walkthrough
A complete walkthrough for The Cave, to guide you through every part of Ron Gilbert's classic puzzle-platform adventure
The Adventurer's Pyramid

From the starting pool, head left and use the Adventurer's hook to swing over the spikes. Stand on the pad on the other side to compress the spikes, allowing your other party members safe crossing.
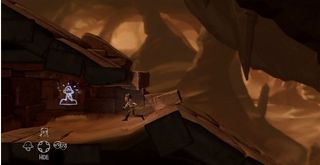
Cross over the pyramid with every character. Don't miss the Cave Painting in the second gap as you traverse the structure!
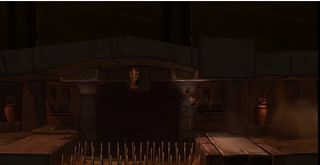
On the other side, swing across the spikes with the Adventure's hook. There's another pad to compress the spikes on the other side.
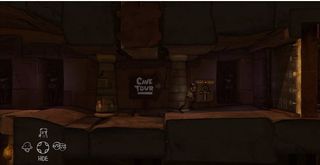
With everyone in the pyramid, descend the ladders. You'll find an ankh that you can pull from the wall.
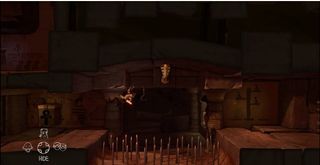
With ankh in hand, ascend the ladders to find another spike pit. Swing across with the Adventurer's hook, and place the ankh in the spot on the other side.
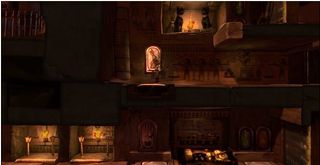
This opens a new chamber. Step on the switch in here to open another new chamber. Take the other two party members to the right to enter that new chamber.
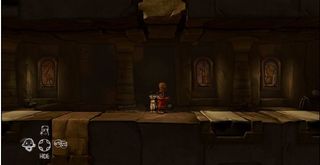
In this chamber, there are four pressure pads: a snake, a bird, a jackal, and a lion. Stepping on the correct pads will guide the Adventurer through the rest of the level. Start by stepping on the snake and lion.
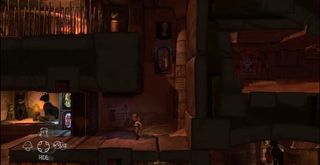
This opens a door above the Adventurer. Head there, and have your teammates step on just the jackal. This extends a hook that you can use to reach the upper ledge.
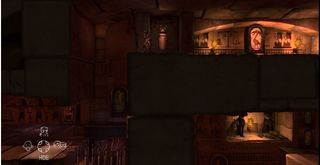
Now have them step on just the bird. This will lengthen the time the spikes on the upper ledge stay compressed, giving you enough time to cross. On the other side, have them step on just the snake to create a safe landing point below.
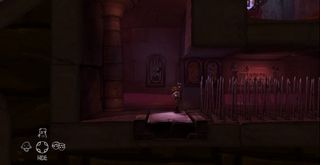
As you proceed, you'll step on some pads that lower spikes in the room your teammates are in. These are unavoidable; just try not to jump while controlling your teammates in the pressure pad chamber. Have them step on the bird and jackal to compress the spikes long enough to cross, and use your hook to swing across the second pit.
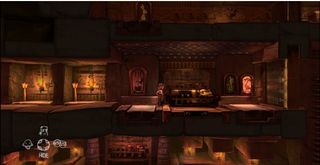
This brings you to the sarcophagus. Have your teammates stand on the snake and bird, and push the sarcophagus onto the last pad to open the door. Push it off the edge, and then push it to the left to being lowering the elevator.
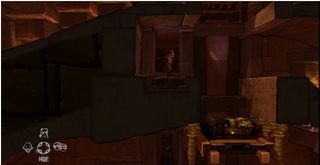
As the sarcophagus lowers, you'll have to step on pads to clear the shaft. The first is right by the opening.
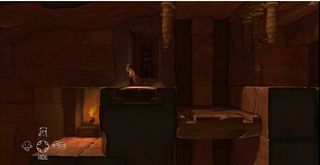
To reach the second, you'll have to have your teammates step on just the jackal. You can also drop off the left side of this pad to find another Cave Painting.

To reach the final pad, have your teammates stand on just the lion.
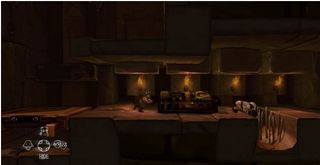
With the sarcophagus at the bottom, start pushing it to the right. When you encounter your companion, simply push him over with it to cross the spikes. Push until you reach the bridge that crumbles beneath you.
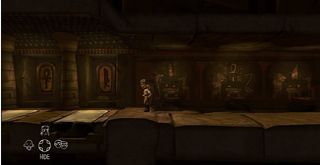
In this pit, head left to find three hieroglyphics and three pads: a feather, an ankh, and a.."thing." You'll have to step on these in combination with your teammates to escape.
The combinations are:
1. Feather + Snake + Jackal
2. Ankh + Lion + Bird
3. "Thing" + Lion + Jackal
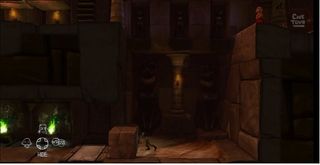
When all of these have been completed, your teammates will be able to escape and push a block into the pit. Slide this block onto the nearby pressure pad to hold a ladder in place, allowing you to escape.
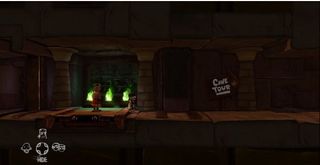
Head right to find one last pressure pad. Stand all three characters on it to open the door, allowing you to leave the level. Don't forget to grab the Cave Painting on your way out!
Jump to Section:
Sign up to the 12DOVE Newsletter
Weekly digests, tales from the communities you love, and more
Tony lives in Maryland, where he writes about those good old-fashioned video games for 12DOVE. His words have also appeared on GameSpot and G4, but he currently works for Framework Video, and runs Dungeons and Dragons streams.
