Braid walkthrough
Tim's love life is a mystery, but at least getting to the end of Braid won't be
World 2: Time and Forgiveness
2-1 – Three easy steps
This simple level is just to introduce you to the basic controls. Use the A button to jump and the left thumbstick to maneuver up and across climbing walls. Make your way to the right. Get the first puzzle piece by platforming over some spikes and head right.
The goomba-like foes in this level are called monstars, and they can be killed by jumping on them. Obtain the second puzzle piece by getting a boost from a monstar or climbing the small ladder and grabbing it from the platform. Continue walking to the right, being aware of spawning monstars.
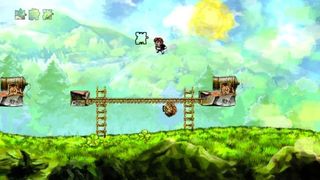
To get the third puzzle piece in this level, you must hop on two foes in a row to get a bigger jumping boost. Time it right, and you’ll be able to hop from monstar to monstar and reach the puzzle piece above. Don’t worry if you mess up; more enemies will pop out of the cannon to the right. After grabbing the piece, go down the ladder and continue to the right. When you reach the door at the end of the level, press B to enter and move on.
2-2 – The Cloud Bridge
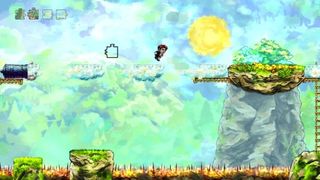
Above the entrance is a cloud-spewing cannon, but you can’t reach it because of the locked door. Instead, platform across the bottom of the level. Avoiding spikes, grab the key and head back and up the ladder. Unlock the door.
Hop onto a cloud and stay put to get the first puzzle piece. Jump onto the solid land and then platform across the next set of clouds for the second puzzle piece. Below, you’ll find a puzzle board where you can put together the pieces you have so far. Grab a piece with the A button and rotate with the left and right triggers.
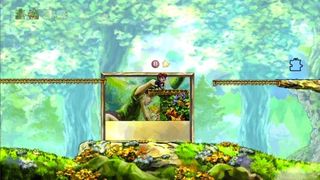
After you’ve collected the rest of the pieces in this world, come back here and arrange them in the puzzle. They’ll provide a platform for you to the piece in the top right corner. The last puzzle piece in the level also requires the rest of the pieces. Arrange the puzzle so the platform is even with the foe on the ledge. After he walks onto it, go back into the puzzle and move the ledge; the enemy will fall to the ground. As it walks near the exit door, jump on its head to get a boost.
For now, exit the level to the right, but remember to come back later for your puzzle pieces!
2-3 – Hunt!
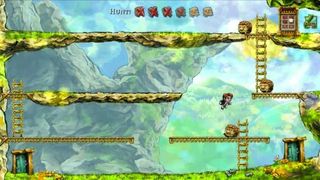
You must kill all six foes in this level, but in a certain order to access the puzzle piece at the top. First kill the enemy on the bottom level. Climb the ladder, but ignore #2, and hop across to the other platform on this level. Jump on this foe. Climb the ladder and kill the next guy. Go back down to the bottom and climb the ladder. Jump on #2 and use the boost to get to the platform above. Jump on the fifth enemy, then climb the ladder and kill the last one to open the door and grab the puzzle piece. Go back down and exit to the right.
2-4 – Leap of Faith
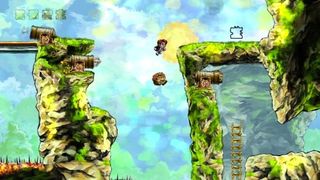
Walk to the right and climb the ladder. The lever to the right controls the platform next to the cliff you’re standing on. Pull the lever using the B button and it will move right towards the monstar-spawning cannon; use it to move a monstar past the pit of spikes below. The goal is to have the monstar fall between the moving platform and your cliff; once you’ve done that, quickly descend the ladder and head back towards the entrance. Use the approaching monstar to get a boost and collect the first puzzle piece.
After getting the piece, go back to the ladder and use the lever and platform to cross the chasm and make it to the other side. To reach the puzzle piece on the far right, you’ll have to carefully time a midair jump onto a monstar popping out of the cannon below you. Then fall down the gap, avoiding spikey platforms, to land on another puzzle piece. If you miss it or get impaled, hold X to rewind and you can try again.
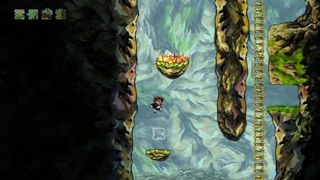
Climb the ladder to the right, using the gaps in the wall to avoid falling monstars. The fourth piece in this level is on your way up, so don’t miss it. At the top of the ladder, walk right and hop over the deadly plant. Walk to the flag to have a conversation with a dinosaur to complete World 2.
Sign up to the 12DOVE Newsletter
Weekly digests, tales from the communities you love, and more
Sarah is a freelance writer, editor, and consultant. Her work has appeared on websites including IGN, Polygon, Variety, NBC News, Nerdist, Ars Technica, GamesRadar, and more.
