Battlefield Hardline warrants and case files collectibles guide
Episode 4: Case Closed
Evidence D14: Barrels of Dye
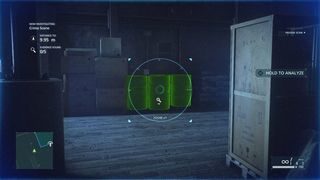
In the initial area, go straight ahead and scan the barrels lined up at the side.
Evidence B6: Gym Bag of Money
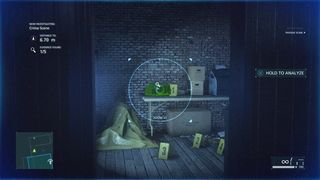
Now turn right and head to the side room with evidence markers on the floor, then look for the bag on the table.
Evidence D15: Burner Cellphones
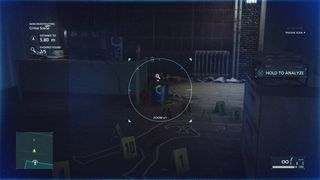
Go up the two flights of stairs to the next area, then once there take the first corridor on the right and go into the first room to your left. Scan the bin full of phones for this evidence.
Evidence D13: Talking Tamu-Tamu Stuffy
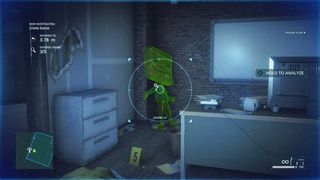
Turn around and enter the room on the opposite side of the corridor, then find this large character in the corner.
Evidence C6: Elmore Plaza Business Card
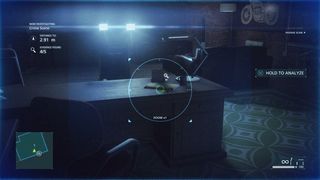
Go up another set of stairs into an office, then search on the desk for this evidence.
Case C: The Elmore Hotel Investigation completed.
Warrant: Philip Evans
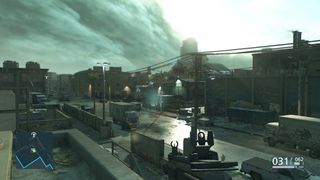
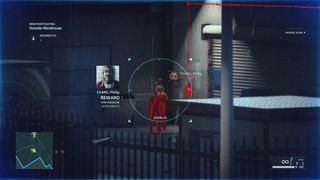
When you arrive in the next area, scan the enemies to identify the warrant suspect outside the warehouse near the alarm.
Evidence D18: Poster for Tamu-Tamu
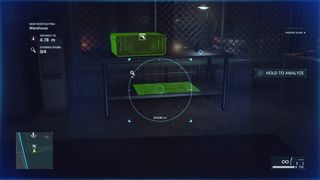
Once you've used the crowbar to gain access to the warehouse from the roof, scan the poster on the table under the weapon crate.
Evidence D17: Tamu-Tamu DVDs
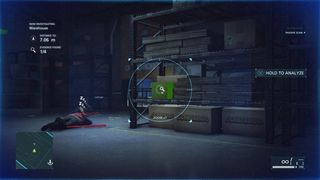
Downstairs inside the warehouse, look for the box of DVDs on a rack in the middle of the area.
Evidence D12: Flyer for Tamu-Tamu
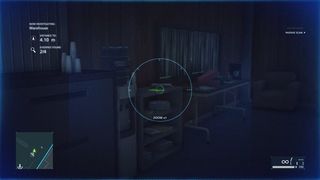
Now turn around and head into the side room with a drinks machine at the entrance, then look on top of the shelves to the left by a water cooler.
Evidence D16: Letter from Neltz's Business Manager
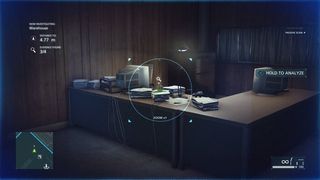
In the same room, check on the desk to find this evidence.
Case D: Internal Affairs completed.
Evidence B2: Crate of Hot Shot
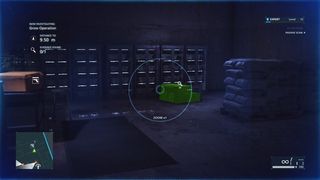
Once you've used the crowbar to enter the next area, go straight ahead to the room at the end of the corridor with the surveillance screens then look to your right and scan the crate.
Warrant: Leonard Miller
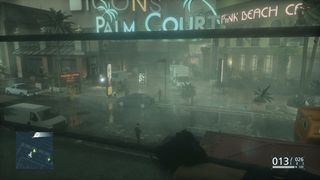
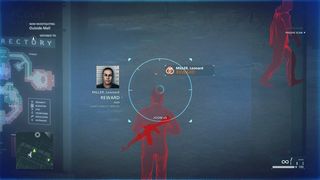
When you arrive in the mall car park, scan the enemies in the street below to identify the warrant suspect.
Warrant: Frankie Diaz
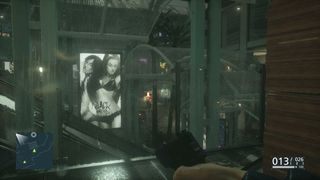
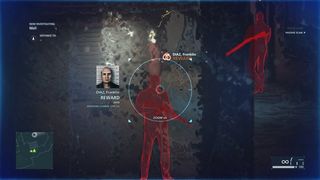
After using the crowbar to get inside the mall, access the security terminal in the room to your left to reveal the enemies in this area then scan them from the upper balcony.
Warrant: Xavier Gonzalez
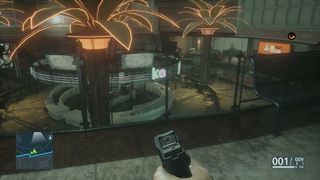
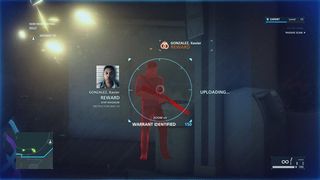
Once you've rescued your partner and used the crowbar to enter the next mall area, scan the enemies in the wind-swept area below.
Jump to Section:
- Episode 1: Back to School
- Episode 2: Checking Out
- Episode 3: Gator Bait
- Episode 4: Case Closed
- Episode 5: Gauntlet [no collectibles]
- Episode 6: Out of Business
- Episode 7: Glass Houses
- Episode 8: Sovereign Land
- Episode 9: Independence Day
- Episode 10: Legacy
Sign up to the 12DOVE Newsletter
Weekly digests, tales from the communities you love, and more

Iain originally joined Future in 2012 to write guides for CVG, PSM3, and Xbox World, before moving on to join GamesRadar in 2013 as Guides Editor. His words have also appeared in OPM, OXM, PC Gamer, GamesMaster, and SFX. He is better known to many as ‘Mr Trophy’, due to his slightly unhealthy obsession with amassing intangible PlayStation silverware, and he now has over 750 Platinum pots weighing down the shelves of his virtual award cabinet. He does not care for Xbox Achievements.
