How to get the shovel in Animal Crossing: New Horizons
Dig your way to the best fossils with the shovel

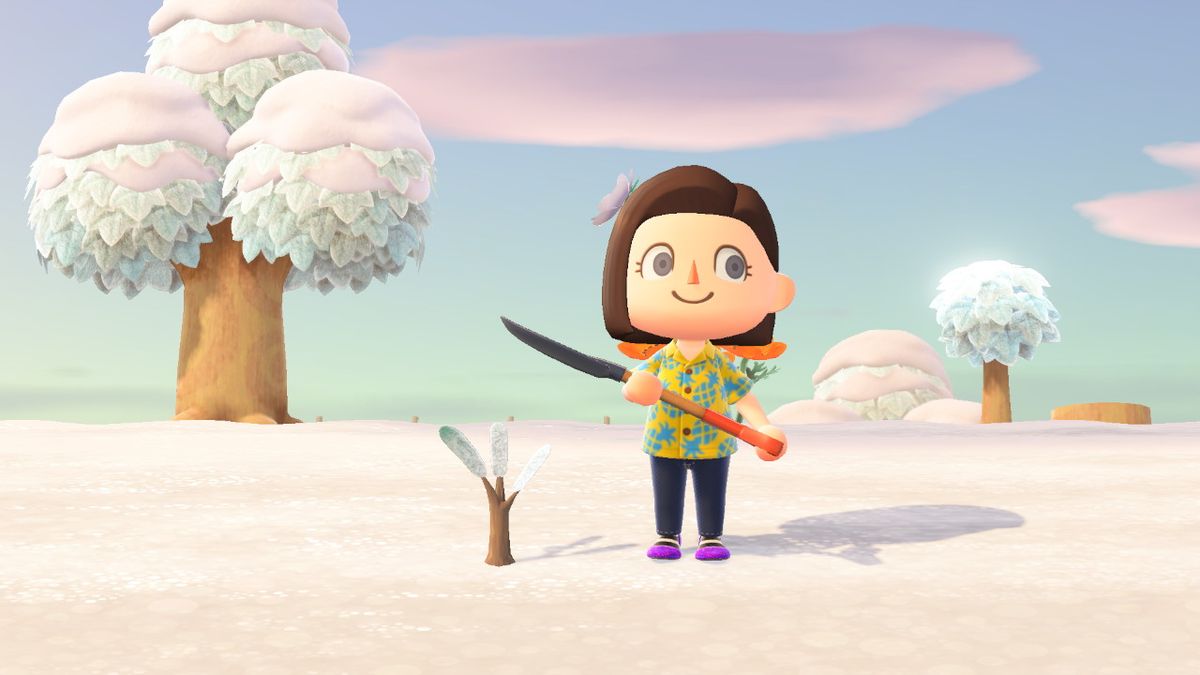
The Animal Crossing: New Horizons shovel isn't as quickly accessible as you might expect. The digging tool has been a staple in the game series for years now, but you're going to have to work a little to add it to your arsenal. It's strange that it's not part of your toolset right at the start of the game because you use it for a range of activities like digging for fossils and planting trees. But, despite its usefulness, you have to do quite a few things before anyone even thinks of giving you a shovel. You'll get given a fishing rod and net straight away, but you're going to have to work for the shovel, among other tools.
How to get the shovel in Animal Crossing: New Horizons
You're going to want to do all of the below as quickly as the game will physically let you, in order to ensure you get your shovel ASAP.
1. Give five bugs or fish to Tom Nook at Residents' Services

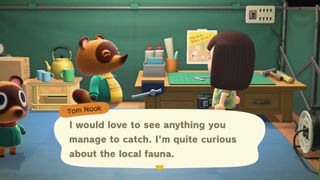
After your first sleep on the island, one of the things Tom Nook will offer is a DIY Workshop, which is your first step towards unlocking your full crafting potential. Head over to the Residents' Services, complete the workshop, and then you'll be able to craft your very own flimsy net and flimsy fishing rod. Tom Nook will then casually mention that he'd "love to see anything you catch. I'm quite curious about the local fauna". Don't dismiss this as gentle curiosity, as if you quickly provide him with five specimens of either the bug or fish persuasion - or a mix of both if you so wish.
When you've handed over five fish or bugs, he'll get a call from Blathers - the long-running director of all Animal Crossing museums. Now, it turns out, he wants to open a brand new museum on your very island.
2. Reserve a space for Blathers' tent

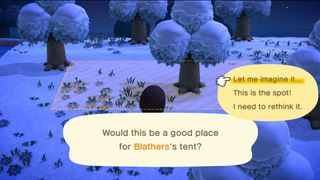
Like with your own tent, and those of your first islanders, Tom Nook will provide you with a tent kit for Blathers. You'll need to head out into the world and find a space that you'd like for him - and eventually where the museum will sit.
3. Wait until the next calendar day
As is the way with Animal Crossing titles, you can't rush anything. So in order for Blathers to arrive, you'll have to wait until the next real-world day.
4. Pay a visit to Blathers in his tent

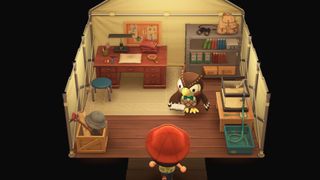
When Blathers arrives head over to his tent. He'll be inside, ready and waiting to talk to you. Turns out he needs your help to gather enough exhibits to open a proper museum on the island – and that includes fossils. Thankfully he recognises that you can't currently dig up any fossils without a shovel, so he gives you the recipe for one along with the recipe for the new Animal Crossing: New Horizons vaulting pole so you can finally cross the river.
All that's left to do is head over to Residents' Services and craft them both. You'll need five pieces of hardwood in order to craft the shovel, and five pieces of softwood for the vaulting pole. If you don't already have enough of either, go around your island and hit some trees with your flimsy axe.
- Animal Crossing: New Horizons tips
- Animal Crossing: New Horizons DIY recipes
- Animal Crossing: New Horizons fish guide
- Animal Crossing: New Horizons bugs guide
- Animal Crossing: New Horizons Nook Miles Rewards
- Animal Crossing: New Horizons iron nuggets
- Animal Crossing: New Horizons ladder
- Animal Crossing: New Horizons fencing
- Animal Crossing: New Horizons magic wand
- Animal Crossing: New Horizons Isabelle
- Animal Crossing: New Horizons Resetti
- Animal Crossing: New Horizons KK Slider
- How to evict a resident in Animal Crossing: New Horizons
- Animal Crossing: New Horizons amiibo support explained
- Animal Crossing: New Horizons reactions
- Animal Crossing: New Horizons museum
- Animal Crossing: New Horizons tailor
- Animal Crossing: New Horizons shop
- How to improve your Animal Crossing: New Horizons island rating
- Animal Crossing: New Horizons Island Designer app
- Animal Crossing: New Horizons character customisation
Sign up to the 12DOVE Newsletter
Weekly digests, tales from the communities you love, and more

Sam Loveridge is the Brand Director and former Global Editor-in-Chief of GamesRadar. She joined the team in August 2017. Sam came to GamesRadar after working at TrustedReviews, Digital Spy, and Fandom, following the completion of an MA in Journalism. In her time, she's also had appearances on The Guardian, BBC, and more. Her experience has seen her cover console and PC games, along with gaming hardware, for a decade, and for GamesRadar, she's in charge of the site's overall direction, managing the team, and making sure it's the best it can be. Her gaming passions lie with weird simulation games, big open-world RPGs, and beautifully crafted indies. She plays across all platforms, and specializes in titles like Pokemon, Assassin's Creed, The Sims, and more. Basically, she loves all games that aren't sports or fighting titles! In her spare time, Sam likes to live like Stardew Valley by cooking and baking, growing vegetables, and enjoying life in the countryside.

Animal Crossing's "obscure references" were all "localized out completely" before its debut in the West, as Nintendo felt it needed to "change everything"

After unsuccessfully attempting to launch a Monster Hunter clone, this controversial dev is now supposedly releasing an Animal Crossing-like game on PS5
