11 Alan Wake tips to help you beat the Darkness
All of the tips you need to survive as Alan Wake
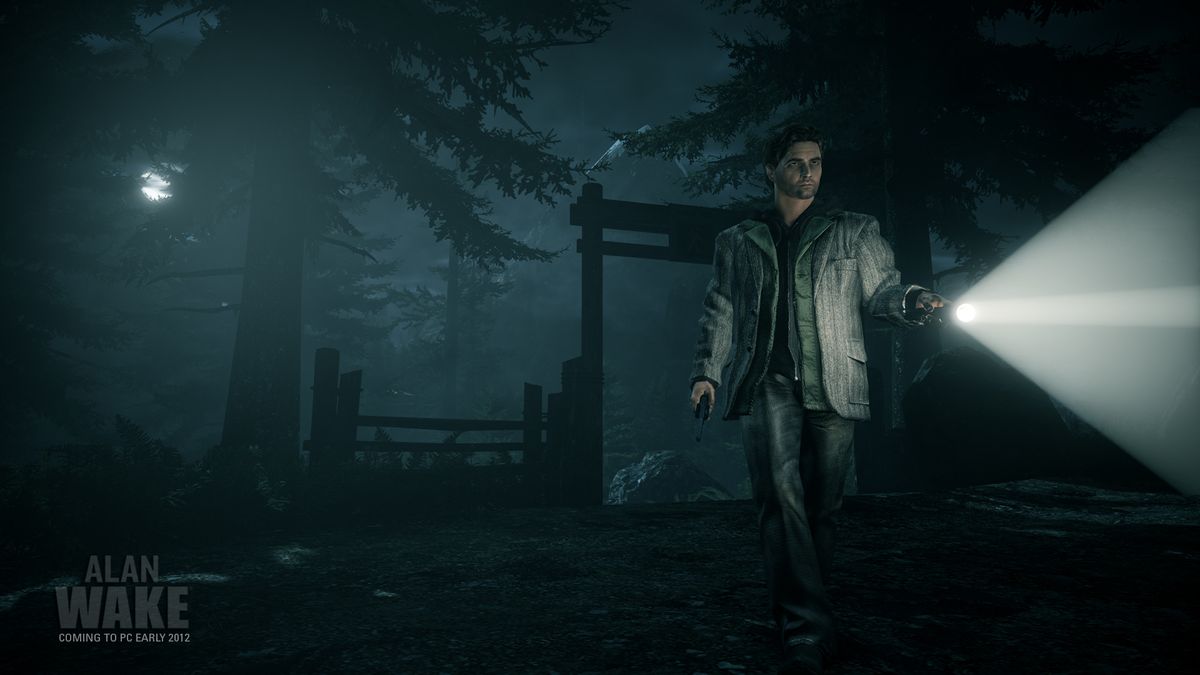
If you arm yourself with some Alan Wake tips before you embark on your adventure in Bright Falls, then you'll have a much better change of survival against the shadowy figures and animated objects that repeatedly attack you. These foes can be surprisingly brutal, particularly if you're not sure how to deal with them, so we've prepared some tips and tricks to improve your combat strategy and help you deal with the Darkness in its various forms. We've also covered some other essential pointers, and made sure that there are no story spoilers here, so you can follow through these Alan Wake tips without worrying about reading the final pages early.
1. Fight at range to live longer
This is the most basic fact: Alan is a far better fighter at a distance than he is close up, and most of your battles will be spent holding back melee-focused fighters before they can chop you in half. You don’t even have a melee attack yourself, though your torch beam helps slow opponents, while items like flares are designed to give you space and temporarily drive them away. Enemies will throw things at you regularly, so you should never get complacent, but on the whole it’s better to keep a healthy distance.
2. Learn to dodge and avoid attacks
Speaking of which, dodging is very important as a skill. You pick the direction you dodge when you trigger it, so a poor choice of evasion can still put you in danger, sending you lurching out of the path of one scythe and into another. That means developing situational awareness in battle is important, as you need to see where the attacks are coming from. Once you’ve dodged, hit them with the intensified torch beam or use weapons to push them back for that precious breathing room.
3. Don't forget to break enemy defences before attacking them
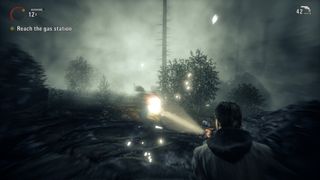
It sounds obvious, but in the heat of battle, it can be easy to forget that you need to remove the enemy’s shields with light. Bullets will do absolutely nothing to opponents still protected this way, and it’s not always easy to tell who’s protected and who isn’t. Enemies who are still protected won’t be that upset by any light that does touch them, likely just covering their face and pressing on, but there’ll be a fizzing noise and a shrinking circle of energy on their bodies when light does hit them. Once that circle shrinks to nothing, there’ll be a sudden flash that shows they’re now open for real damage. Use that opportunity to start racking up headshots, with your torch beam to show where you’re aiming.
4. Listen for extra warnings when you can't see anything
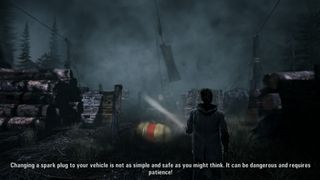
With so much of the game being dark and foggy, audio cues can be as important as visual ones, listening for footsteps, manic chatter or exertion noises. There’s also a rising note that plays when focusing your torch on an enemy, to go with the visual indicator, and animated objects will often announce themselves with an ominous noise, to let you know you need to deal with them fast. Subtitles aren’t strictly necessary, but they can inform you when an enemy is chattering to himself in a hedgerow nearby.
5. Activate and use environmental lights against enemies
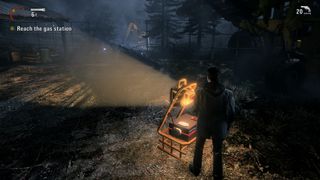
Some areas will have lights and lanterns, including those that you can turn on yourself manually. These work just as well as your flashlight and the enemy AI is often happy to walk through them, so by positioning light sources between you and the enemy, you can really burn through them with little effort.
6. Don’t be afraid to switch batteries as you'll have plenty
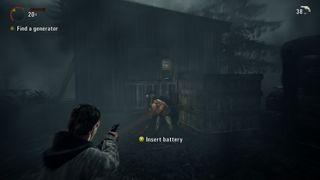
Your flashlight uses battery power like ammunition, burning through energy when you intensify the beam. It’ll slowly recharge on its own otherwise, but there’s also an option to swap in a fresh battery immediately if you’re in danger and need the light.
While it’s tempting to try and go as long as possible without using them, the reality is that you shouldn’t be too worried about trying to preserve batteries. You’ll find a lot of them along your journey, and even if you run out, that just sets you back to recharging over time - which you’d be doing anyway if you were preserving them.
7. There's a secret stamina meter, so don't over do it
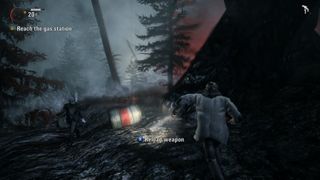
Being a mediocre airport novelist and not an action hero, Alan Wake isn’t the most physically fit character. The game isn’t too quick to inform you about this, but sprinting and dodging burns stamina (though there’s no on-screen indicator). It’ll recharge over time, but if you exhaust it, you won’t be able to do either for about fifteen seconds or so, a state marked by Alan doubling over in exhaustion. Try not to use either ability unless you need to, otherwise you risk being tuckered out when a power drill leaps for your neck.
8. You can't run and don't try it
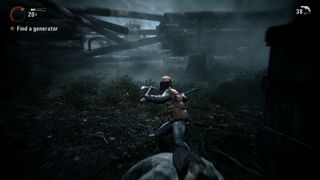
Many survival horror games or similar will allow players to try and escape rather than fight. Alan Wake isn’t really one of those, as unless there’s some sort of light source in their way, the Possessed will usually be able to follow you, and a great deal many of them are faster than you are. That doesn’t mean you shouldn’t be mobile or make the occasional tactical retreat, but simply running away from the fight altogether doesn’t usually work well.
9. Find the light to progress if you're lost...
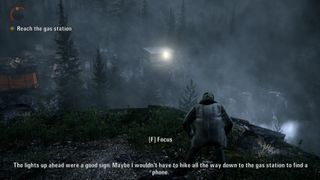
A lot of Alan Wake takes place in dark forests where the path isn’t always obvious. The general rule, when lost, is to look for sources of light. Even if it’s something small, like a car headlight or a control panel, it usually marks the progression path (assuming it’s not one you’ve been to already).
If you can’t see any lights, your best option is to look for man-made structures: roads, paths, buildings, devices, anything non-natural. These tend to be the usual location for set-pieces, enemies and plot points, so look for humanity in the environment, assuming you want to move forward.
10. … but explore the shadows for secrets and resources
Of course, there’s also benefits for heading into the wilderness. Though the game provides you with enough ammo and resources on the critical path to survive, you can find a lot more by diverging away from it. Look for tunnels, abandoned buildings, less obvious paths, many of which will have resources and collectibles (though probably some enemies as well).
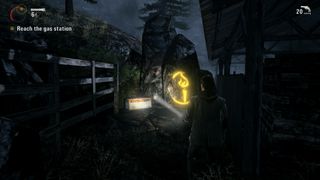
You should also keep an eye out for the yellow paint markers that only appear when your flashlight shines on them. These painted marks reveal secret routes to hidden resources that can really help in future combat encounters.
11. Find and read the collectible pages
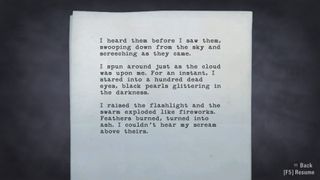
Early on in the game you’ll start to find a new collectible, optional pages from a book that detail events in your own story. While some of these just expand on plot and narrative elements, some can actually help you with future encounters, revealing enemy weaknesses or alerting you to ambushes before they happen. Admittedly, most of them won’t do this, instead building on character or filling in plot holes, but it’s worth checking those you find, just in case. They might be what save your life.
© 12DOVE. Not to be reproduced without permission.
Sign up to the 12DOVE Newsletter
Weekly digests, tales from the communities you love, and more

Joel Franey is a writer, journalist, podcaster and raconteur with a Masters from Sussex University, none of which has actually equipped him for anything in real life. As a result he chooses to spend most of his time playing video games, reading old books and ingesting chemically-risky levels of caffeine. He is a firm believer that the vast majority of games would be improved by adding a grappling hook, and if they already have one, they should probably add another just to be safe. You can find old work of his at USgamer, Gfinity, Eurogamer and more besides.

The Remedy Connected Universe that ties Alan Wake 2 and Control is "just getting started" with no endgame in sight, says Sam Lake
As Remedy nearly breaks even with Alan Wake 2 sales, Sam Lake tells investors "we strive to create commercial hits" but "we must never lose" the studio's special sauce

